Award
Testimonials
"It does a great job. If you are looking for an image converter , it may be of help."
- Softpedia
"It is very easy to use.
It is very effective in what it does.
I am very happy!"
- Andrew MacArthur
Find Us
Hot Guides & Tutorials

PearlMountain Image Converter
PearlMountain Image Converter is an easy-to-use and convenient batch image converter, with which you can convert a certain image format to other formats you want at one time. Resizing, rotating, cropping, adding picture watermark, applying effects and adding border to thousands of images at a time are also available.
Version: 1.2.8
Platform: Windows 8/7/2000/XP/Vista
 |
 |
$39.90 $29.90 |
Getting Started
Step 1: Download
First, download and launch PearlMountain Image Converter.
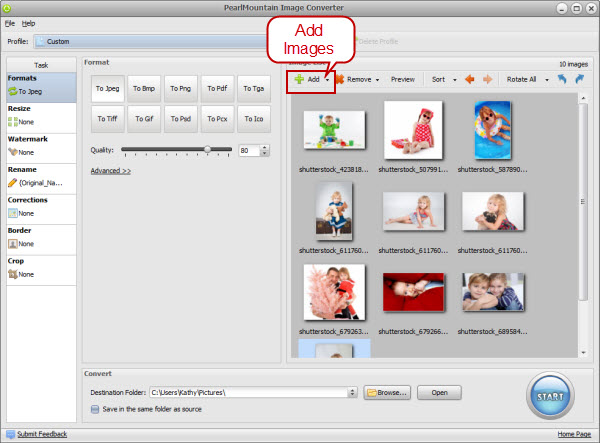
Step 2: Add Images
Click "Add" or "Add Folder" button to add desired images, all the images will be displayed in the preview area. You can manage and preview images after they have been added.
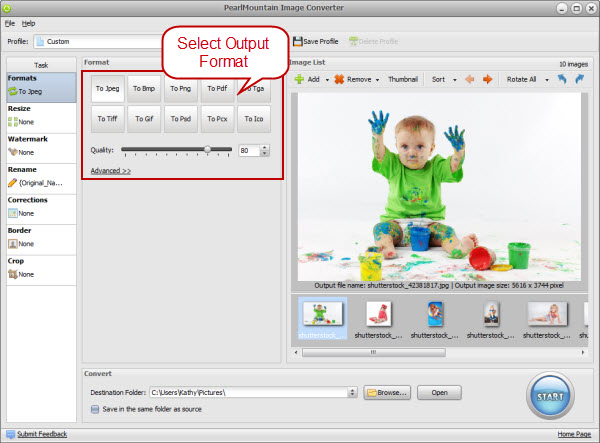
Step 3: Select Output Format
You’ll need to switch to Formats tab, select one output format, such as Jpeg, and then quality adjustment for Jpeg format will be displayed below automatically, different format corresponding to different parameters adjustment
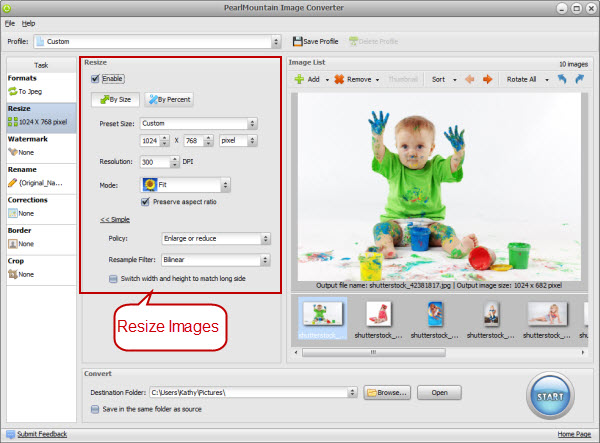
Step 4: Resize
Here you could keep the original size of the image, you could apply the size that has preset, or you could manually set certain size. Some other options such as "Preserve aspect ratio", are right for you to set the size.
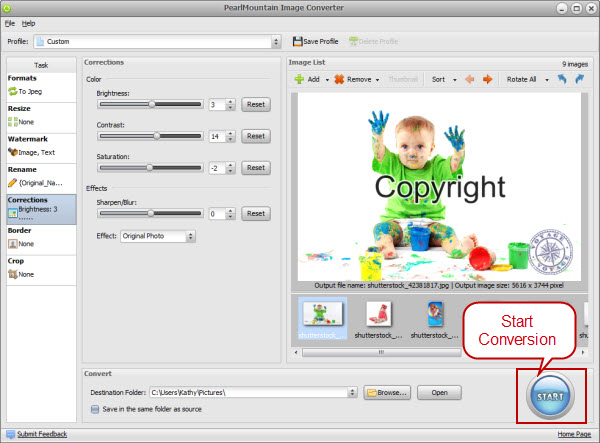
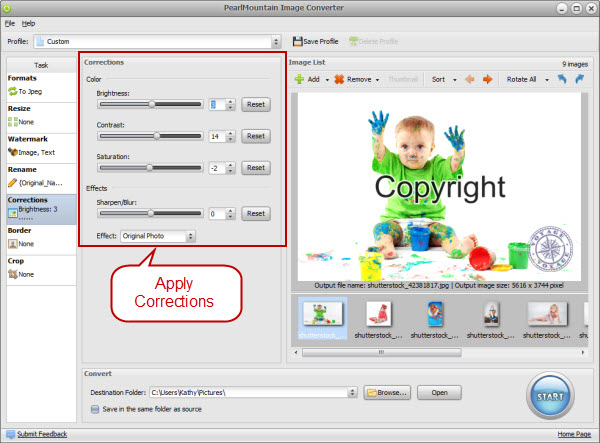
Step 5: Add Watermark and Apply Corrections
Add watermark for your image copyright protection, you can add image and text watermark to the image, the text font can be edited, in addition, you can manipulate the position, size, rotation and opacity of watermark freely.
It’s possible to adjust image brightness, contrast and saturation to make your images look very special, meanwhile, you could preview of new image as the setting is adjusted. Don’t forget to rename your file, create a new name or keep the original name.

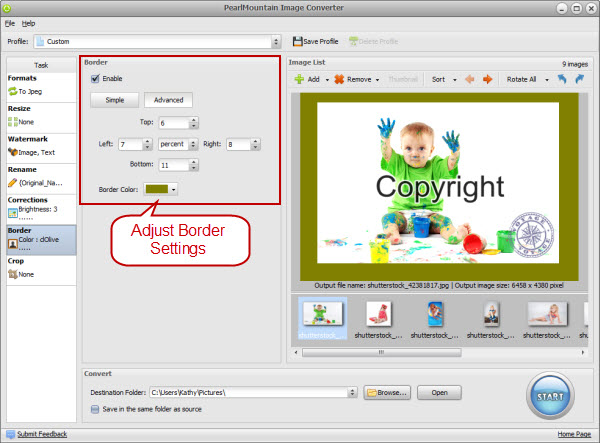
Step 6: Add Border and Crop
Switch to Border tab. The Simple tab lets you decide how large of a border there should be around the photo. The Advanced tab allows you decide how many pixels or percent of a border you want on each side, select the area you want and click the up arrow, you’ll see the border changes on the preview area.
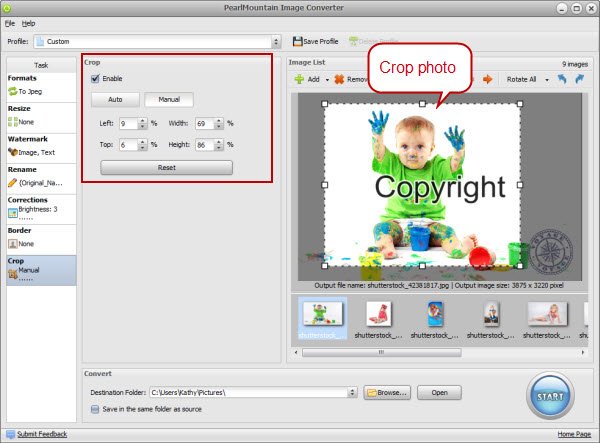
The Crop tab helps you crop images in two ways, the Auto option provides a few choices for you to set Crop Ratio and Crop Orientation, the Manual option lets you set the Crop Ratio and Crop Orientation by dragging the mouse or inputting the numbers.
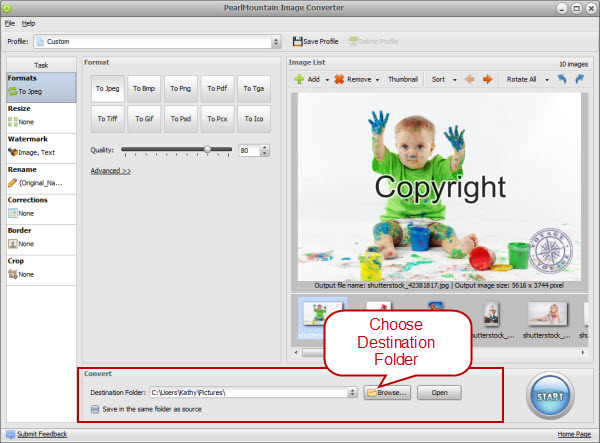
Step 7: Select Destination Folder
Click the Browse button next to the Destination Folder field and select a folder on your computer.
Step 8: Convert Images
Click Start button to start conversion progress. After conversion, your images can be found in the destination folder.